
Note: This post was originally published by Jesse Sanders on the BrieBug blog. Jesse Sanders is the founder/CEO of BrieBug Software, an Angular Google Developer Expert (GDE), and regularly speaks around the world on Angular.

Testing is a very important part of the software development cycle and has become much easier than when I started out as a developer. The tools continue to improve and the techniques are far more sophisticated. We are able to write unit, integration, and end to end tests that quickly and thoroughly test our applications. No longer are we constrained by manual testing that requires large teams of testers to manually comb through the application to report bugs.
I recently gave a workshop talk on Cypress and how to use it for E2E testing. Cypress is a powerful tool with an intuitive interface that allows developers to debug tests step by step and see the state of the UI while inspecting elements, api payloads, etc. One of the toughest aspects of E2E testing is testing edge cases. Historically, this meant we would either need a seed database with the right data or our tests would need to create the data first before locating it in our test flow. This added to the time tests took to run and often contributed to the flakiness of our tests. Cypress allows us to stub our responses from the server, wait for responses, and reach every edge case with relative ease.
You can see the talk here:
What about testing more visually complex elements? Historically, testing graphs or other complex elements was fairly limited. Tests would go to the page in the application where these elements were rendered and check for basic rendering and that no errors occurred. Since these type of elements often use application data to render, they can vary in each run and would be almost impossible to verify if they rendered correctly.
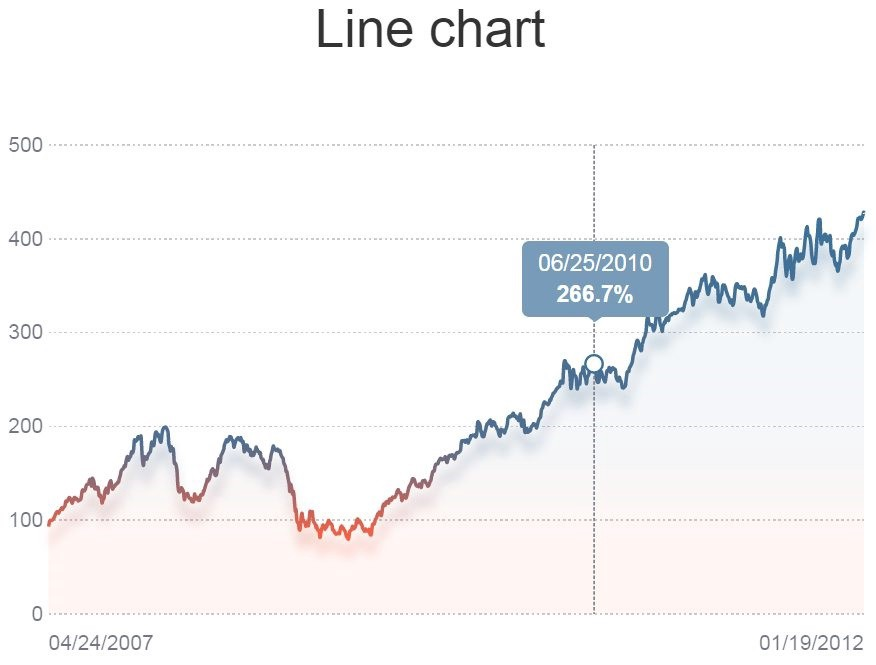
By using Cypress and utilizing stubs, we control the data being fed to our complex visual elements. If our components are deterministic they will render exactly the same way if given the same data. This opens the door to visual testing which has been around for a while, but has been limited in effectiveness due to the variance in data being returned from external sources.
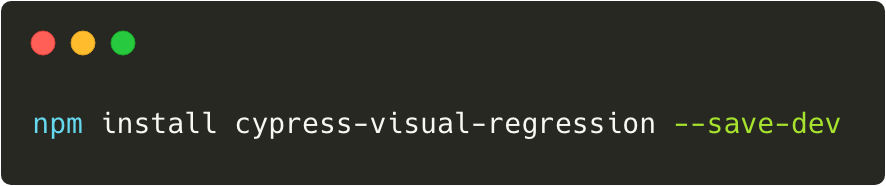
Cypress by itself doesn’t have tools built in to do visual testing, but there are several options that make it simple to implement. The first option is a more manual process, but is free to use. This option is an npm library called cypress-visual-regression that uses the PixelMatch library to do image comparisons. This library is a cypress plugin that captures base images and then compares current images in subsequent test runs. If any of the images vary, an error is thrown and the differences can be inspected.
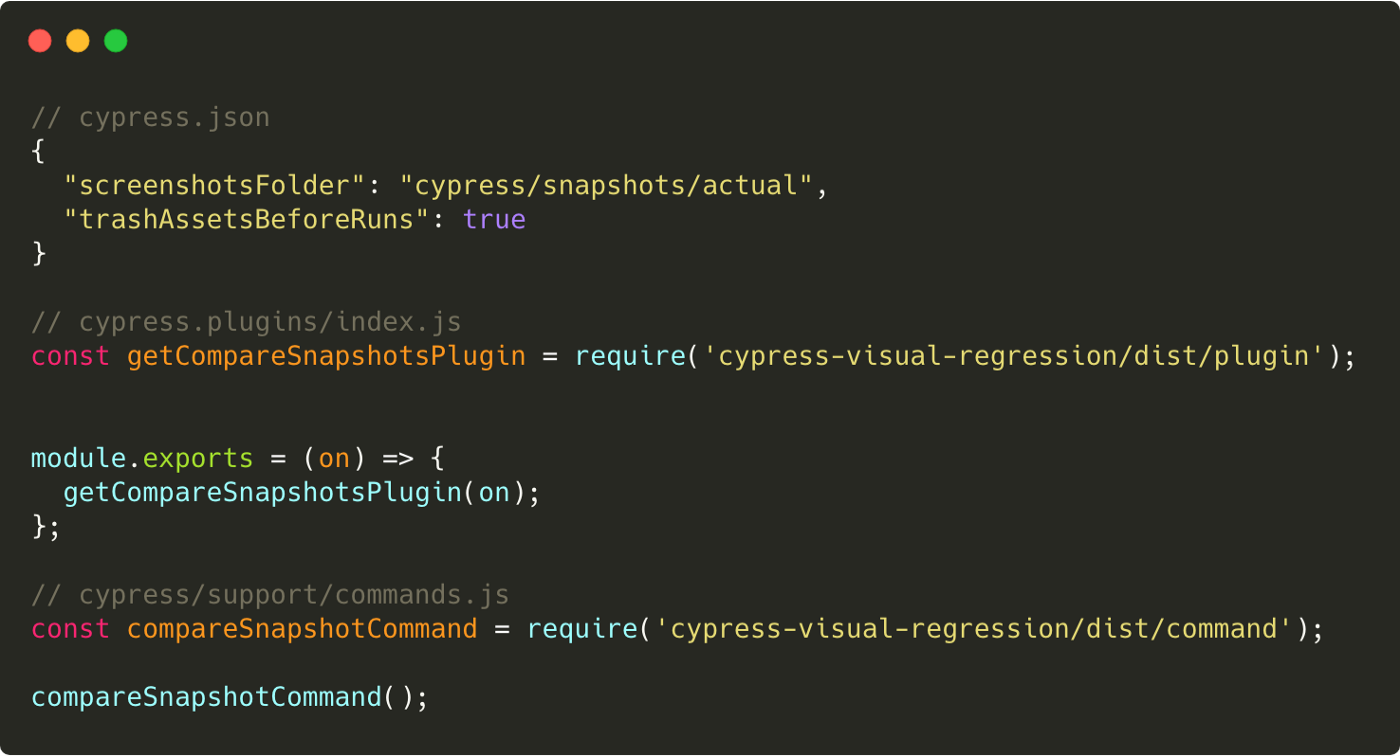
Once installed, some configuration is required. First we need to create a cypress.json file if it doesn’t already exist in our project. We need to tell cypress where the default screen shots folder is located and if we want to dispose of prior test run images (sans our baseline) when starting a new test run. Once we have this configured, we have to tell Cypress about our plugin. This involves editing the plugins/index.js file to tell Cypress about the plugin and then the commands file to add a new Cypress command.
Once we have our plugin configured, our tests look like regular Cypress tests.
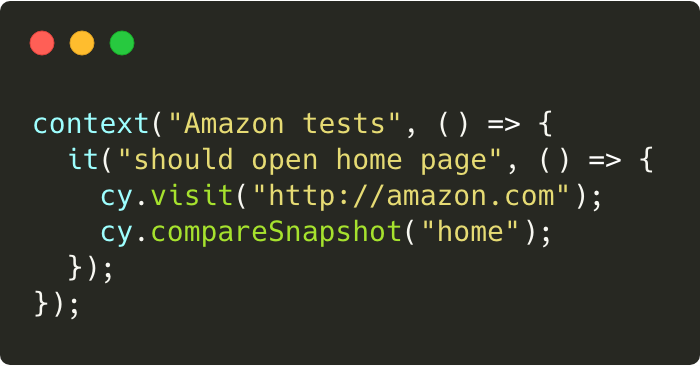
In a real world test, we would likely stub the data being returned in the test so our element/page would render consistently. But, for the purpose of this article, we will write a simple test.
Once we have the tests, it’s time to create a baseline. Once we have a baseline, the second command is what we will use to compare if anything has changed.
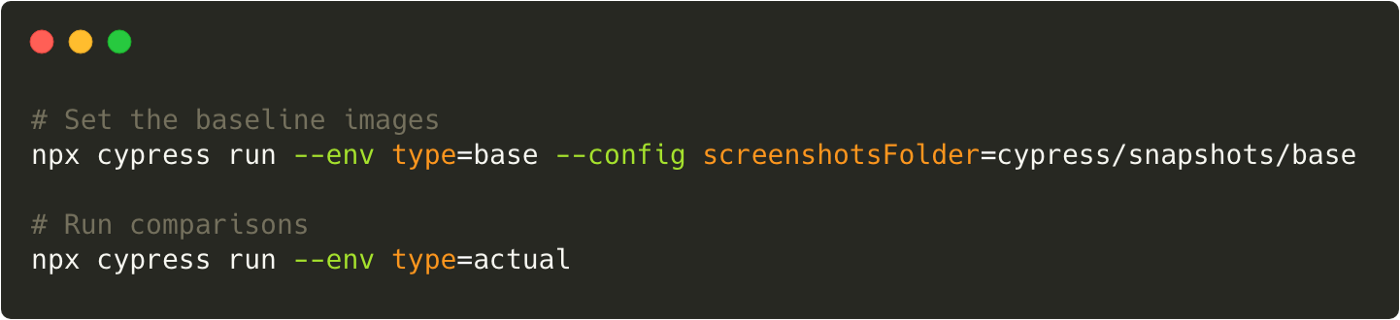
Cypress will kick off the tests, capture screenshots, and compare the current screenshot to the baseline. If anything is different, the test will fail, and we can inspect the images to see the baseline, actual, and difference. This is a manual process, which works well locally on a development machine, but can prove to be more difficult when utilizing a continuous integration server on the cloud.
If this last approach felt a little too manual and it left you feeling like you wished there was something more, then this section is for you. It’s great to have free tools that get us started, but in larger production environments it’s nice to have all the bells and whistles.

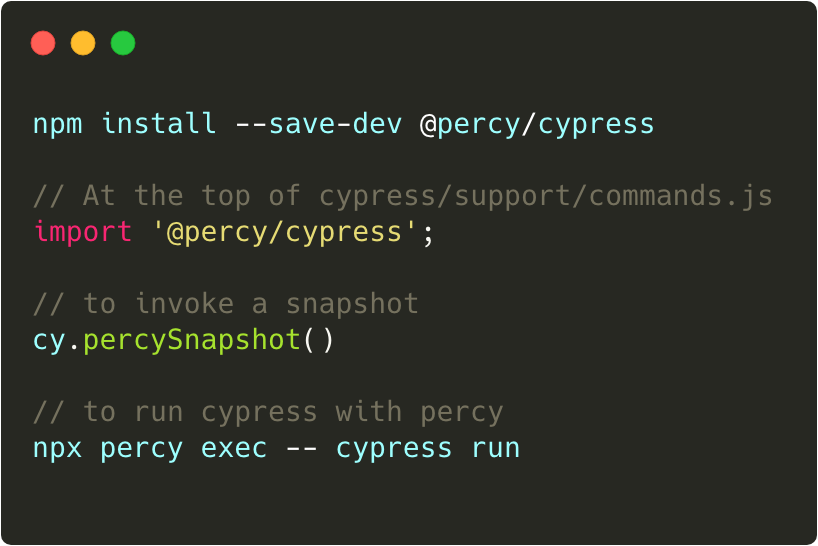
Percy.io is a cloud based visual testing tool that neatly integrates into Cypress and provides advanced features like workflow and git hooks. Installation is very easy with a simple npm install and then a single import line to integrate it into your tests. Add your Percy token to your environment and Percy takes care of the rest.
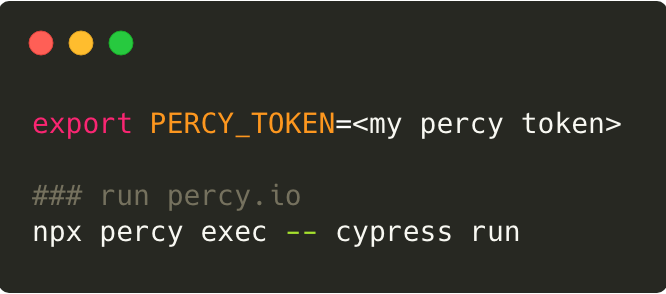
There are a couple of intermediate steps which include creating an account with Percy.io, then creating a new project. Once you have a project created, you will need to copy your PERCY_TOKEN for the project and add it to your command line instance like so.
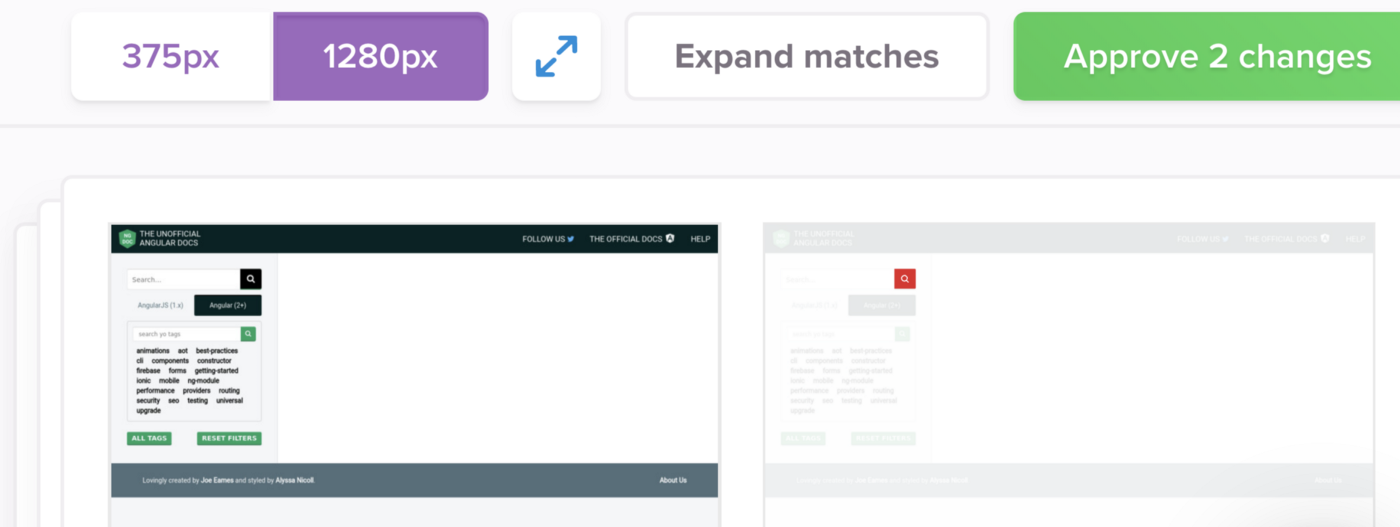
Cypress will run your tests and everywhere there is a “cy.percySnapshot();” call, Percy will take a snapshot, upload it to the cloud, and compare the results to the baseline (if one exists, otherwise the new image will become the baseline). You can specify the screen widths to capture and Percy will do all the work to bundle your test run into a workflow for your approval
Any images that don’t match their base image will require a user to approve the changes. Any images that fail in the same exact way will be group together to make the approval process faster. Groupings can be expanded and the workflow process makes comparing the results very very easy.
In addition, Percy.io has GitHub hooks to integrate into your PR process to ensure that visual changes are approved before code is merged to the next branch. This approval process creates a solid code quality process when combined with code reviews, linting, unit tests, code coverage, and E2E testing.
If you’re ready to take your testing game to the next level, you should definitely consider visual testing with Cypress and Percy.io. These two products when combined together give us a new tool in our tool-belt to prevent random UI changes that would otherwise be easily missed by typical manual validation methods.