
Recently, we introduced a trial feature called experimentalRunEvents that simplifies running Node code before or after executing a spec file. Inside your plugin file you can add event hooks to perform operations that need OS access. For example, you could:
- initialize the database before all tests start running (on this machine)
- scaffold the database depending on the spec about to execute
- delete video file after spec finishes to avoid uploading videos of passing tests
- shut down an external process after all tests finish (on this machine)
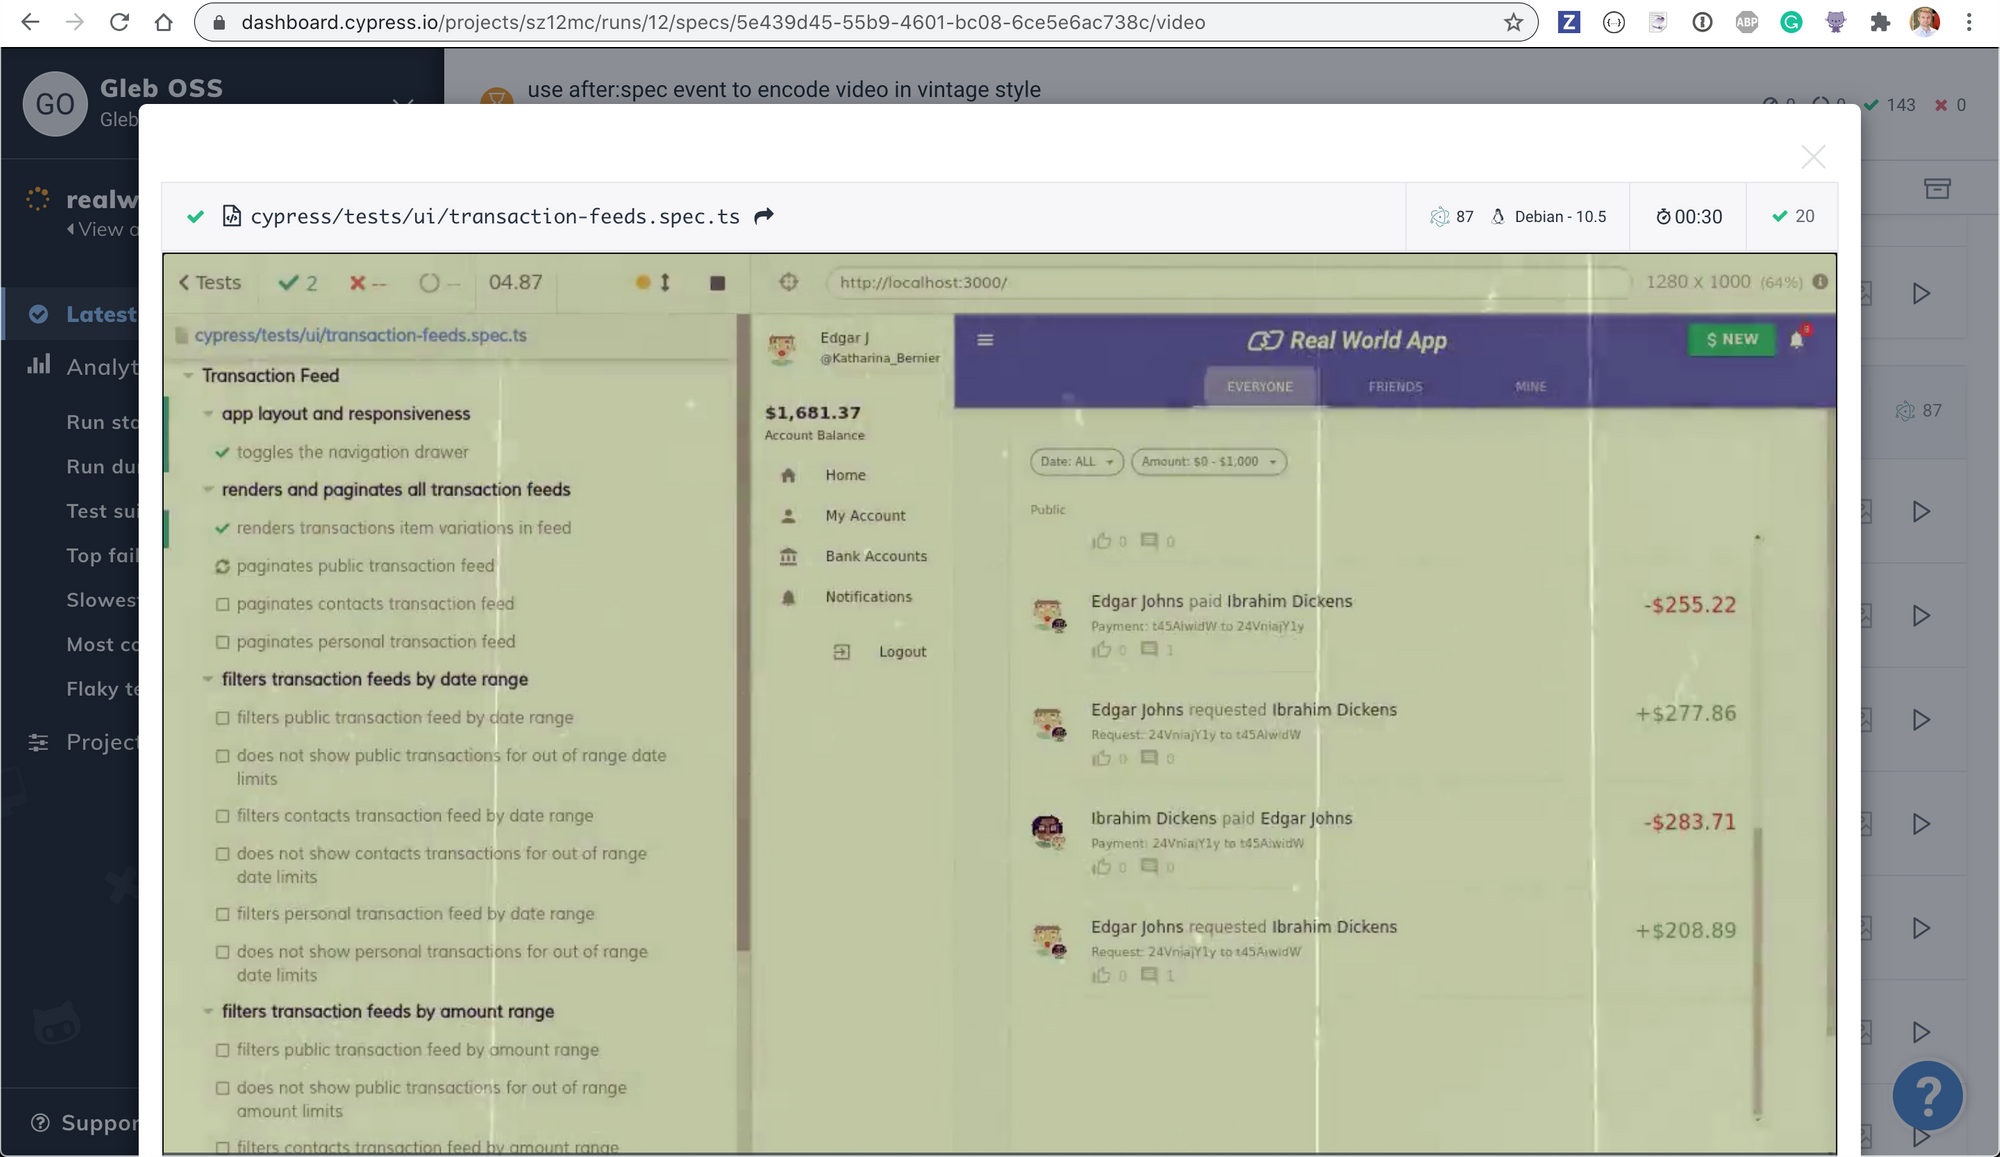
In this blog post I will show a fun application of the after:spec hook. We will re-encode the spec's video to look like a vintage movie reel. In general I will follow the video processing advice described in this blog post with a few small changes. You can find the finished result in the pull request bahmutov/cypress-realworld-app/pull/14. Here is a typical spec video 😆
Every video is encoded the same way, and the encoded videos are then uploaded to the Cypress Dashboard since we ran the tests using the cypress run --record command.
It could be a fun April Fools joke for your Cypress-loving coworkers, if we ever survive to joke around in April 2021.
The after:spec hook
Let's look at the code that runs after the spec finishes and re-encodes the video to look vintage. Since accessing the video file and re-encoding via ffmpeg utility requires the operating system access, the code to perform this operation must reside inside the plugin file.
// cypress/plugins/index.js
import { toVintageVideo } from "../../code-video"
module.exports = (on, config) => {
  on("after:spec", (spec, results) => {
    if (!results.video) {
      // nothing to process
      return;
    }

    return toVintageVideo(results.video);
  });
}
The after:spec hook runs after the entire spec finishes execution and the video file is ready (if the video capture is enabled). Now let's re-encode the video file; its filename is given by the results.video property.
Tip: besides the after:spec hook, there are before:spec, before:run, and after:run hooks. While these hooks are under the experimental flag you need to explicitly enable them using the configuration parameter. For example in your cypress.json you could set:
{
  "experimentalRunEvents": true
}
Currently (as of Cypress v6.2.1) these hooks only execute during for the cypress run command mode. They also do not take into account the parallel mode, thus every machine executes its own before:run and after:run hooks. We are still working on this feature and it might change in the future, thus the experimental prefix.
Vintage video
Changing a video to look vintage requires only two steps:
- converting its colors to a yellowish hue common to movies shot on celluloid
- adding a scaled overlay showing scratches, I used this video
We can perform the two actions using the ffmpeg utility. Cypress already comes bundled with ffmpeg - unfortunately it is not easy to access it from the plugin code (since the ffmpeg is inside the Electron binary folder). Thus it is simpler to add a dev dependency ffmpeg-static to our project—it is a tiny wrapper script around a pre-built ffmpeg binary installed automatically.
$ yarn add -D ffmpeg-static
info Direct dependencies
└─ [email protected]
Now we can use the local ffmpeg, for example on Mac it will be found at ./node_modules/ffmpeg-static/ffmpeg.
Changing the colors
In our utils.js script we can thus adjust the colors of the video using:
const execa = require("execa");
const ffmpeg = require("ffmpeg-static");
const toVintageVideo = async (sourceVideo) => {
  // change the colors to look yellowish
  await execa(ffmpeg, [
    "-i",
    sourceVideo,   // -i <input filename>
    "-vf",         // video filder curves=vintage
    "curves=vintage",
    "-pix_fmt",    // frame format yuv420p
    "yuv420p",
    "-acodec",     // copy audio stream unchanged
    "copy",
    "-y",          // overwrite existing file
    "yellow.mp4",  // output filename
  ]);
}
module.exports = { toVintageVideo };
The output video file yellow.mp4 looks something like the image still below:
Scaled scratches video
Now let's add the scratches on top of the yellow video. First, we need to scale the scratches video to the right resolution. To find the resolution of the input video we can use the ffprobe utility. Again we can install pre-built binary using the NPM packages ffprobe and ffprobe-static:
$ yarn add -D ffprobe ffprobe-static
info Direct dependencies
├─ [email protected]
└─ [email protected]
Note: the module ffprobe calls the program found by the ffprobe-static and parses the output into a JSON object.
const ffprobe = require("ffprobe");
const ffprobeStatic = require("ffprobe-static");
const getVideoResolution = async (sourceVideo) => {
  const { streams } = await ffprobe(sourceVideo, { path: ffprobeStatic.path });
  return {
    width: streams[0].width,
    height: streams[0].height,
  };
};
Once we know the resolution of the spec's video, let's create the properly rescaled scratches video.
const { width, height } = await getVideoResolution(sourceVideo);
// scale the old grain video mask to the output size
await execa(ffmpeg, [
  "-i",					// -i <old grain video file>
  "./old-grain.mp4",
  "-vf",                // video filter
  `scale=${width}:${height},setsar=1:1`,
  "-pix_fmt",           // output frame format
  "yuv420p",
  "-y",                 // overwrite existing file
  "grain.mp4",          // output filename
]);
Combined vintage video
Now let's merge the two videos together. We will loop the grain.mp4 video as many times as needed to make sure the output video has the same length as the input spec video. The grain video will function as alpha channel, hiding the video pixels in places with white "scratches". The ffmpeg command is a little gnarly due to the complex video filter:
// combine scaled old grain video with vintage
const params = [
  "-i",
  "grain.mp4",
  "-i",
  "yellow.mp4",
  "-filter_complex",
  // use the first grain video as alpha mask, looping it forever
  // limit the output by the shortest video which will be the "yellow.mp4"
  "[0]format=rgba,colorchannelmixer=aa=0.25,loop=-1:32767:0[fg];[1][fg]overlay=shortest=1[out]",
  "-map",
  "[out]",
  "-pix_fmt",
  "yuv420p",
  "-acodec",
  "copy",
  "-y",
  sourceVideo,
];
await execa(ffmpeg, params);$
Notice the final output video is the input argument sent to the after:spec hook. Because we used an intermediate video yellow.mp4 we can write the result back to the original video - and the Test Runner uploads it to the Dashboard!
The original vs the vintage videos are shown side by side below. I have combined the original and the vintage videos using the command:
./node_modules/ffmpeg-static/ffmpeg \
  -i <original video> \
  -i <vintage video> \
  -filter_complex '[0:v]pad=iw*2:ih[int];[int][1:v]overlay=W/2:0[vid]' \
  -map [vid] \
  -pix_fmt yuv420p \
  side-by-side.mp4
Watching the warm, scratched video of the test run certainly brings back memories, doesn't it?