Our guest contributor is Juri Strumpflohner, Director of Developer Experience at Nrwl, where he helps developers with questions around frontend development, monorepos, scaling and modern tools. He is a core member of Nx, a smart, fast and extensible build system, optimized for monorepo development. Prior to moving into developer relations Juri has been consulting for some of the world's biggest companies, helping them scale their development efforts, particularly in the frontend space. Juri is a Google Developers Expert in Web Technologies, international speaker and Egghead instructor.
Cypress has revolutionized e2e testing. It successfully addressed many pain points developers had specifically with e2e testing solutions. In this article, we’re going to see how to bring that to the next level by learning how to use Cypress in an Nx workspace, in particular how to share common Cypress custom commands in an Nx monorepo.
Nx ❤️ Cypress
One of the big advantages of using Nx is that it sets your development environment up with some best practices tools, taking away all the burden of dealing with configurations, reading through docs, and setting it up by yourself.
Whenever generating a new application with Nx, you’ll get
- TypeScript set up and configured;
- Jest set up for unit testing;
- ESLint set up for linting;
- Prettier set up so you don’t have to rant over tabs vs spaces;
- and finally, Cypress set up for e2e testing (and component testing coming soon!)
Every application (unless you actively opt-out) gets a corresponding Cypress setup generated, in the form of <app-name>-e2e(you can change that name if you’d like).
This makes Nx pretty appealing as your default development CLI, even if you don’t expect to fully leverage a multi-app Nx monorepo workspace.
Prefer the Video version?
Here you go! You’re welcome.
Setting up a new Nx workspace
If you have already set up a workspace, feel free to skip this section. Nothing new for you expert here 😉. Instead, if you’re not really sure what Nx is all about, please follow along.
Let’s generate a new React-based Nx workspace.
npx create-nx-workspace nxlovescypress --preset=react --appName=happynrwl
This generates a new setup with a React app happynrwl. For the styles and Nx Cloud setup, feel free to choose however you like. It is not relevant for this article.
Note, you can also use an Angular-based Nx workspace setup. It doesn’t really make any difference for this article. You can refer to the GitHub example repo linked at the end of this article, which uses an Nx workspace containing an Angular and React application.
You should end up having a new Nx workspace with the following situation:
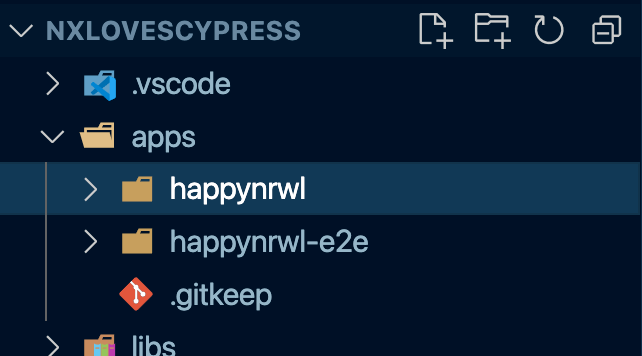
Let’s explore our setup.
Running Cypress in an Nx workspace
happynrwl-e2e is the Cypress application that got generated for our happynrwl React app.
You can run the Cypress e2e tests headlessly with
npx nx e2e happynrwl-e2e
You can also pass --watch to run it interactively with the Cypress test runner such that the tests get re-executed whenever we change our source.
The awesome part of this is that you don’t have to configure anything at all. No need to
- spin up our development server manually first that serves our React app such that we are able to load it in our Cypress tests environment
- set up linting for our e2e project (yes writing good quality test code is just as important)
Cypress custom commands
In Cypress you typically interact via the global cy object, for example you’d write
cy.get('[data-testid="some-link"]').click();
..to grab some DOM element then interact with it. In this case by clicking the link.
Luckily Cypress is extensible, allowing you to add your own commands to the cy object such that they can be easily invoked within your test implementation.
In your Cypress setup, open the support/commands.ts file to see an example declaration of such a custom command:
// eslint-disable-next-line @typescript-eslint/no-namespace
declare namespace Cypress {
  // eslint-disable-next-line @typescript-eslint/no-unused-vars
  interface Chainable<Subject> {
    login(email: string, password: string): void;
  }
}
//
// -- This is a parent command --
Cypress.Commands.add('login', (email, password) => {
  console.log('Custom command example: Login', email, password);
});
//
// -- This is a child command --
// Cypress.Commands.add("drag", { prevSubject: 'element'}, (subject, options) => { ... })
//
//
// -- This is a dual command --
// Cypress.Commands.add("dismiss", { prevSubject: 'optional'}, (subject, options) => { ... })
//
//
// -- This will overwrite an existing command --
// Cypress.Commands.overwrite("visit", (originalFn, url, options) => { ... })
Read more about it on the official Cypress docs: https://docs.cypress.io/api/cypress-api/custom-commands.
Sharing Cypress custom commands
Consider a simple custom Cypress command named getEl which follows Cypress best practice to grab elements via a dedicated data-testid property.
Here’s what the pure implementation looks like.
Cypress.Commands.add('getEl', (identifier: string) => {
  return cy.get(`[data-testid=${identifier}]`);
});
Ideally, we want to reuse this type of command across all our e2e tests. Let’s explore how Nx can significantly help us with this endeavor.
Sharing functionality in an Nx workspace
When you generate a new Nx workspace, you’ll get a setup that includes an apps and libs folder. This distinction allows us to have a more modular architecture by following a separation of concerns methodology, incentivizing the organization of our source code and logic into smaller, more focused, and highly cohesive units.
This is also where reuse and sharing functionality happens within an Nx workspace. Nx automatically creates TypeScript path mappings in the tsconfig.base.json file, such that they can be easily consumed by other apps or libs. As such, functionality organized in libraries can be imported as easily as
import { Button } from '@my-organization/ui';
No need to rebuild the library, publish it, or whatsoever (although you still can).
In this article we leverage this type of setup, to organize our custom Cypress commands in an Nx library for then being able to reuse, not across other apps or libs, but across all of our, Cypress e2e tests that potentially live in the Nx monorepo workspace.
Read more about the mental model of apps and libs in the official Nx docs: https://nx.dev/structure/applications-and-libraries
Generating a new library to host the custom commands
As mentioned, we need a library to share functionality within our Nx workspace. So let’s generate one:
npx nx generate @nrwl/js:library --name=cypress-commands --directory=shared --buildable=false
The @nrwl/js package is used to create pure TypeScript packages that are framework agnostic. Learn more: https://nx.dev/getting-started/nx-and-typescriptLet’s explore what we got. The newly generated library (as all Nx based libs) has an index.ts file which is the “public API” of your library (often also called “barrel file”). This entry point allows to perfectly control what should be exposed to other libraries and applications and what should remain private within the library itself.
Creating our getEl Cypress custom command
In our library, we’d like to have our custom commands specified in separate files. As such, let’s create a get-el-command.ts in our library:
// libs/shared/cypress-commands/src/lib/get-el-command.ts

// eslint-disable-next-line @typescript-eslint/no-namespace
declare namespace Cypress {
  // eslint-disable-next-line @typescript-eslint/no-unused-vars
  interface Chainable<Subject> {
    getEl: (identifier: string) => Chainable<JQuery<HTMLElement>>;
  }
}

Cypress.Commands.add('getEl', (identifier: string) => {
  return cy.get(`[data-testid=${identifier}]`);
});
In order to expose it, we need to also export it from the index.ts file of our lib:
// libs/shared/cypress-commands/src/index.ts
import './lib/get-el-command';
🤔 wait a minute, we did an import rather than export in the index.ts. Correct. This is a bit of a special case since Cypress commands are created by registering a function to the global Cypress.Commands object. As such, all we need to do is to import the file, such that get-el-command.ts is executed and hence our Cypress.Commands.add('getEl',... function is being called and registered.
Adding Cypress Type support to our Library
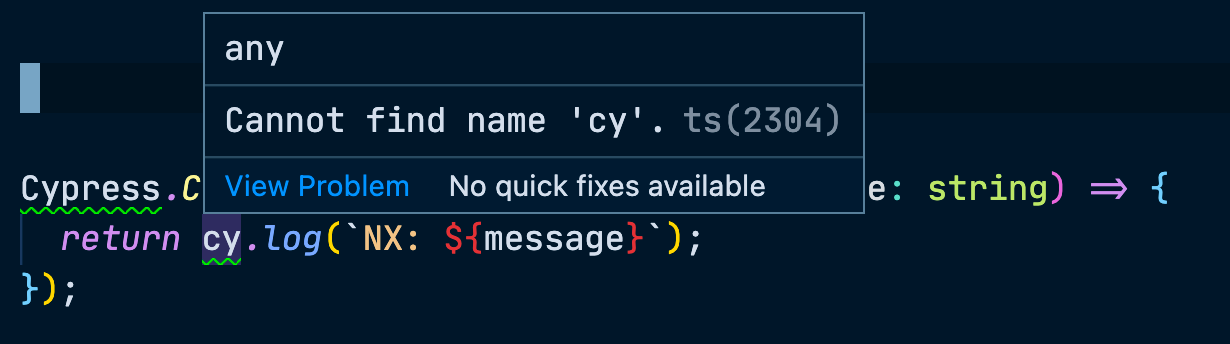
You may notice that TypeScript does not recognize Cypress’ global cy object in our generated cypress-commands library.
Each Nx lib is already set up and configured to work well with TypeScript. There is a
tsconfig.jsonwhich is the entry level TypeScript config file and extends from the root-leveltsconfig.base.jsontsconfig.lib.jsonwhich holds the library specific TypeScript configurationtsconfig.spec.jsonwhich is mainly for Jest tests
To make Cypress types work, we need to add cypress and node to the types property of the compilerOptions in tsconfig.lib.json:
{
  "extends": "./tsconfig.json",
  "compilerOptions": {
    ...
    "types": ["cypress", "node"]
  },
  ...
}
Consuming Cypress Commands
We are ready to use our custom command in our e2e test, more specifically in happynrwl-e2e. To do so, we need to import our custom commands to make sure they are registered with Cypress. Go to apps/happynrwl-e2e/src/support/index.ts and import our lib containing the shared Cypress commands:
// apps/happynrwl-e2e/src/support/index.ts
...
import '@nxlovescypress/shared/cypress-commands';
Note how we can conveniently use @nxlovescypress/... . This works because Nx automatically creates a path mapping for every generated library in tsconfig.base.json:
{
  "compileOnSave": false,
  "compilerOptions": {
    ...
    "paths": {
      "@nxlovescypress/shared/cypress-commands": [
        "libs/shared/cypress-commands/src/index.ts"
      ]
    }
  },
  "exclude": ["node_modules", "tmp"]
}
To test the command, let’s open the main component nx-welcome.tsx in the happynrwl app and change the title area with a text that says Nx ❤️ Cypress:
// apps/happynrwl/src/app/nx-welcome.tsx
<div id="welcome">
  <h1 data-testid="message">
    <span> Hello there, </span>
    Nx ❤️ Cypress
  </h1>
</div>
Next, in the corresponding e2e test in apps/happynrwl-e2e/src/integration/app.spec.ts we change it to the following:
// apps/happynrwl-e2e/src/integration/app.spec.ts
describe('happynrwl', () => {
  beforeEach(() => cy.visit('/'));

  it('should display welcome message', () => {
    cy.getEl('message').should('contain', 'Nx ❤️ Cypress');
  });
});
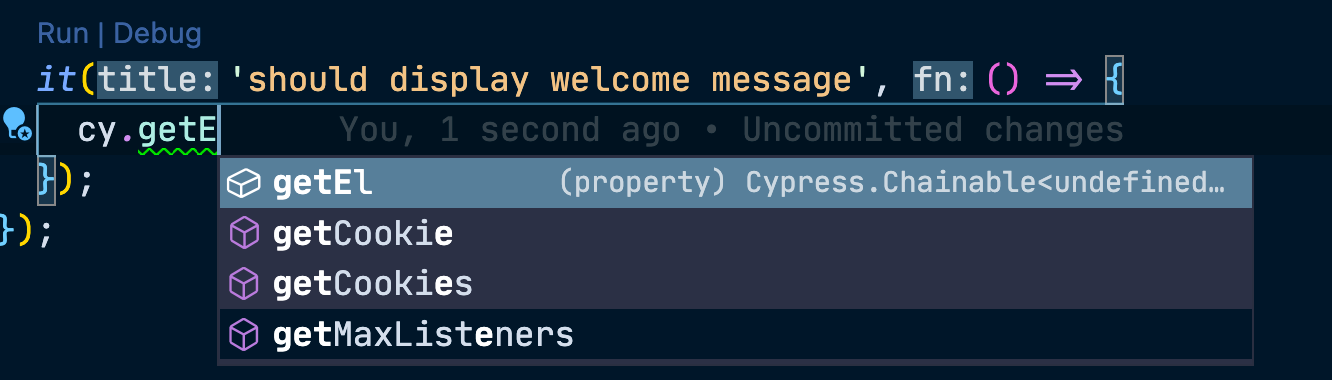
Note how the TypeScript autocomplete support is picked up properly and shows our custom Cypress command:
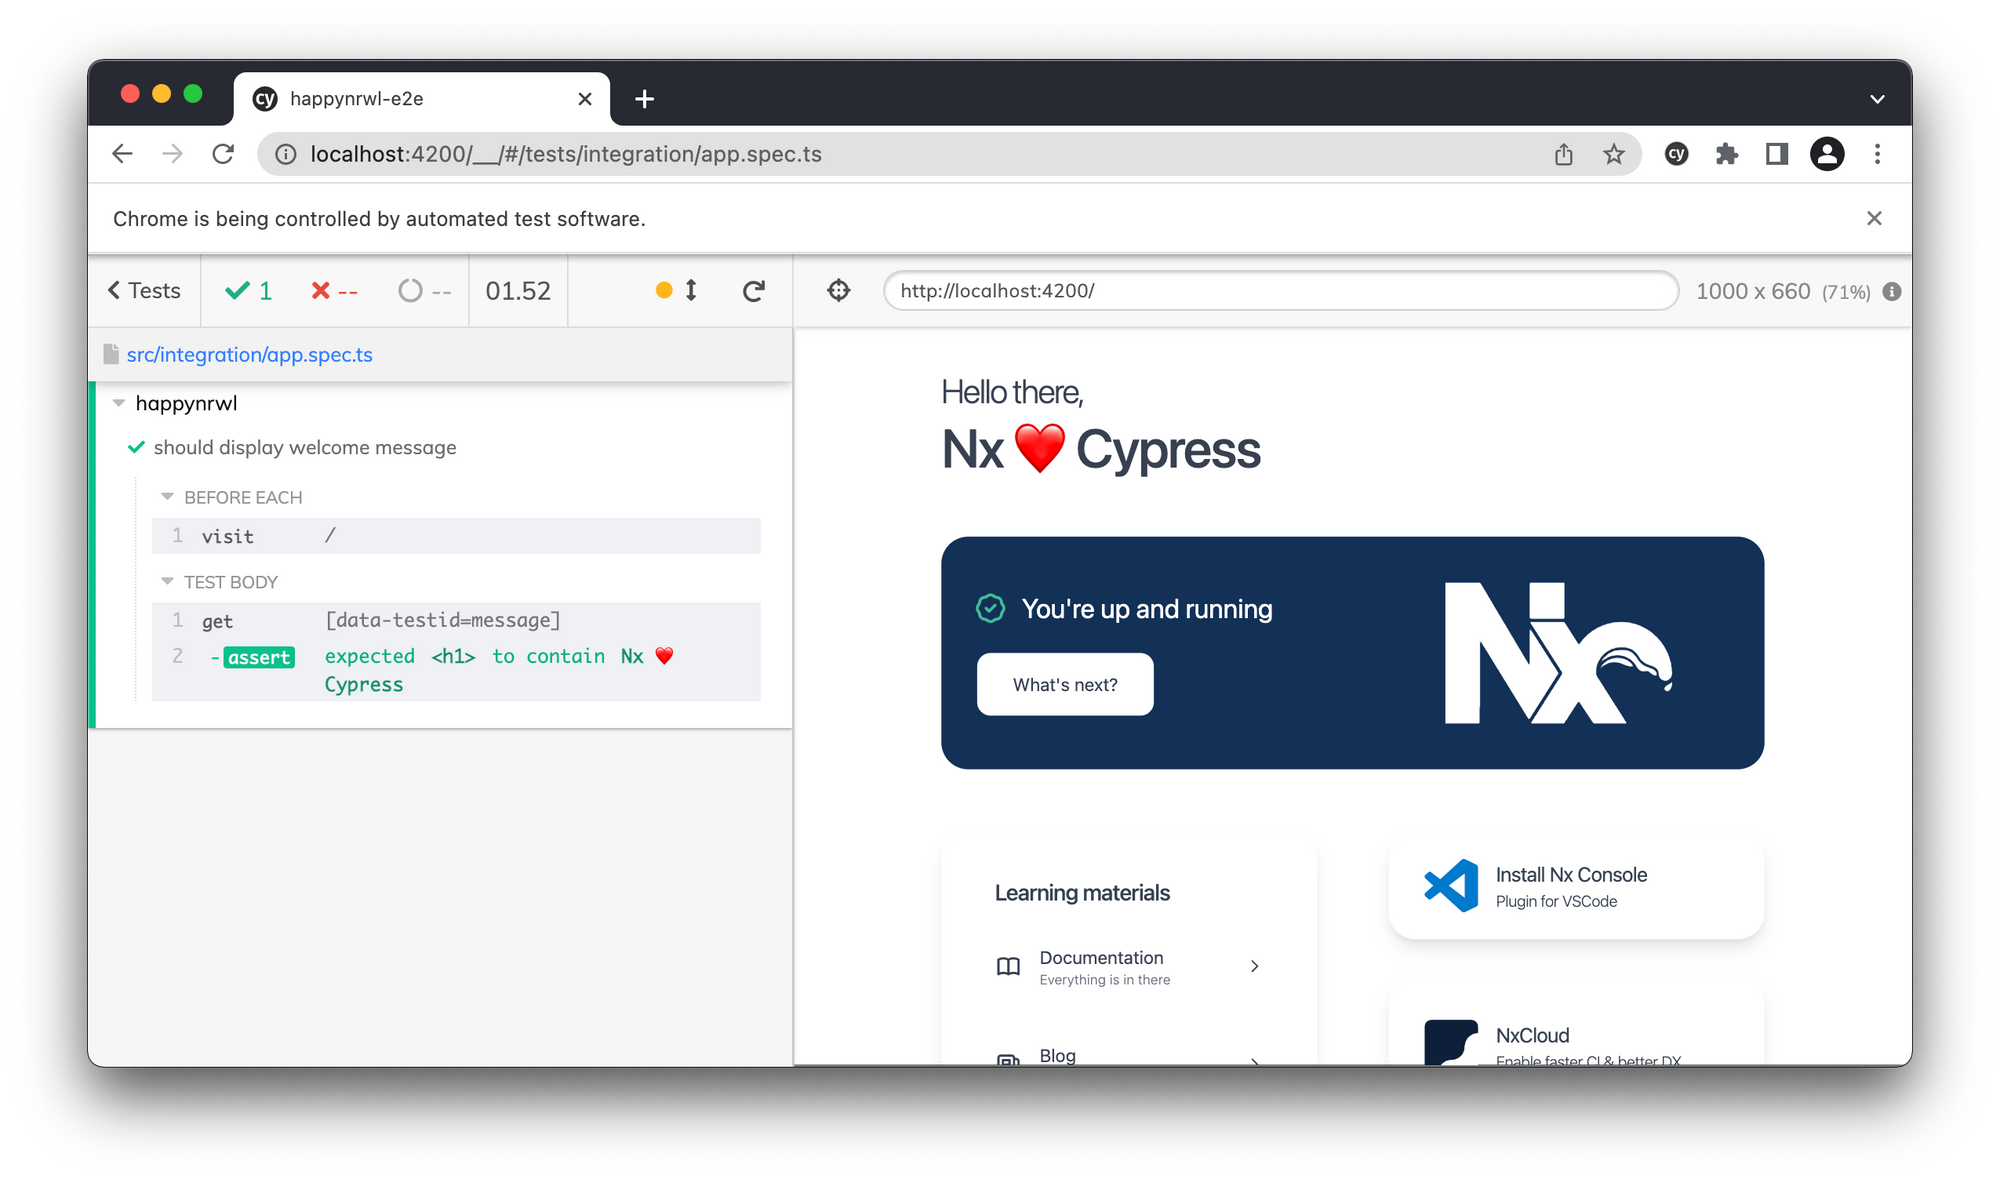
Finally, running the test in watch mode should give you this, which demonstrates the successful use of our command.
npx nx e2e happynrwl-e2e --watch
Reusing Cypress commands across our Nx workspace
Reusing is simple now. Since our custom Cypress command is now encapsulated in a library within our Nx workspace, we can easily reuse it across other Cypress based e2e tests. All that needs to be done is to import it into the support/index.ts of our Cypress setup:
import '@nxlovescypress/shared/cypress-commands';
I will leave it up to you to
- generate a new application with its corresponding e2e test
- import our shared commands
- use them in a Cypress e2e tests
Conclusion
This article should have given you a good understanding of how Nx helps set up and configure Cypress and how to leverage libraries in an Nx workspace to not only share functionality among applications, but also among e2e tests.
Where to go from here?
- join the Nrwl community Slack
- follow Juri on Twitter
- follow Nx on Twitter
- learn more about Nx on https://nx.dev
- subscribe on the Nx Youtube channel
- join more than 200+ developers and take the free Egghead course on how to scale React development with Nx.
Also, here’s the GitHub repository I used for this article: https://github.com/nrwl/nx-cypress-command-sharing